Ever since the Goose switched to cow’s milk and has been drinking (I’m not kidding) about 1/3 of a gallon a day, we have been having trouble with leaky diapers at night, but I absolutely refuse to buy disposable diapers. It’s a pride thing.
Before having kids, I never thought that I would use wool for diapering. It seemed like a lot of work, and it just didn’t seem like a handknit product could possibly repel liquid enough to keep her dry. Was I wrong! The Goose had one wool cover when she was a newborn, and it was by far the most reliable in terms of keeping in liquid and solids. Unfortunately, she outgrew it.
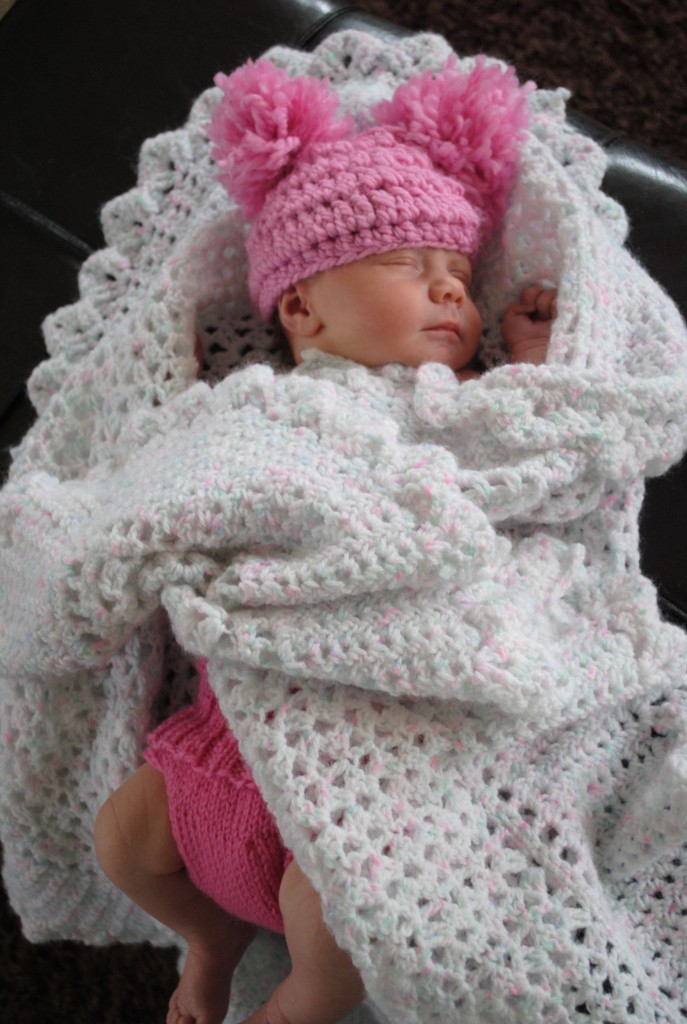
Here’s a picture of newborn Goose in her wool cover. Wasn’t she cute ?
So I decided to make her a new cover, and last night, I went through the process of lanolizing it. The great thing about lanolized wool covers is that you don’t have to wash them regularly. I’ve read that it’s best to wash them anywhere between every one-three weeks. We definitely could go closer to three when she was really small, but we only used them once every day or two. If you notice that it starts to smell or that it is leaking a bit, you know it’s time to wash it and relanolize, but really, they don’t get wet and they don’t smell otherwise, so they are good to go for quite awhile.
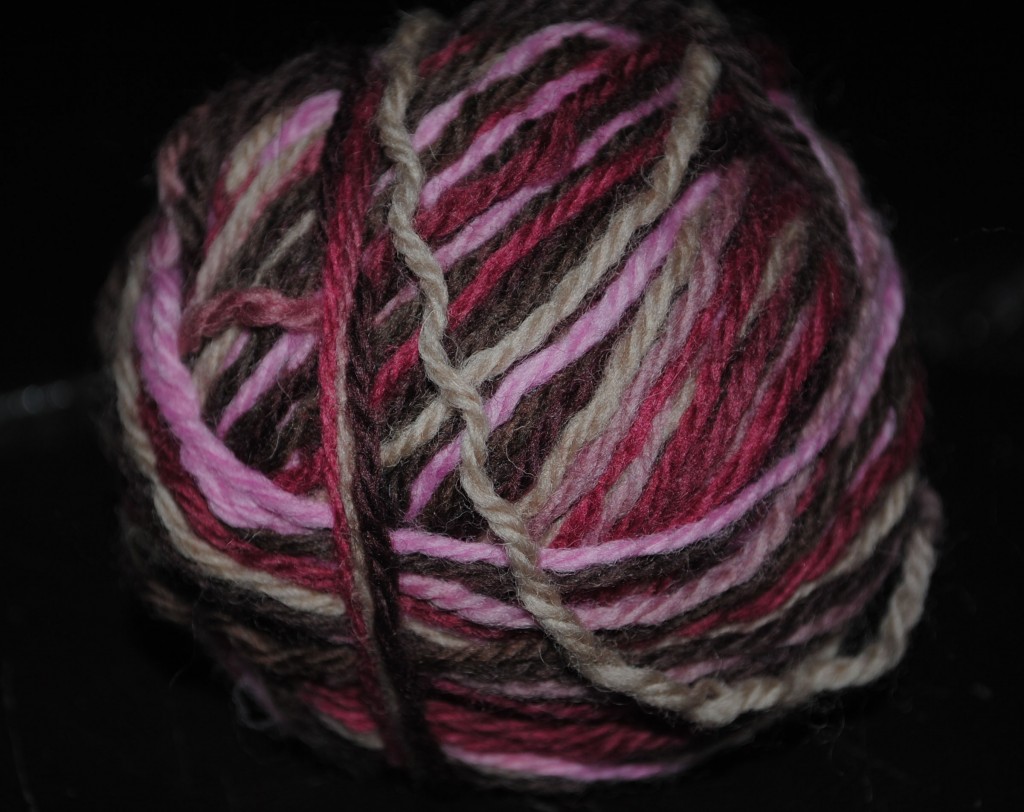
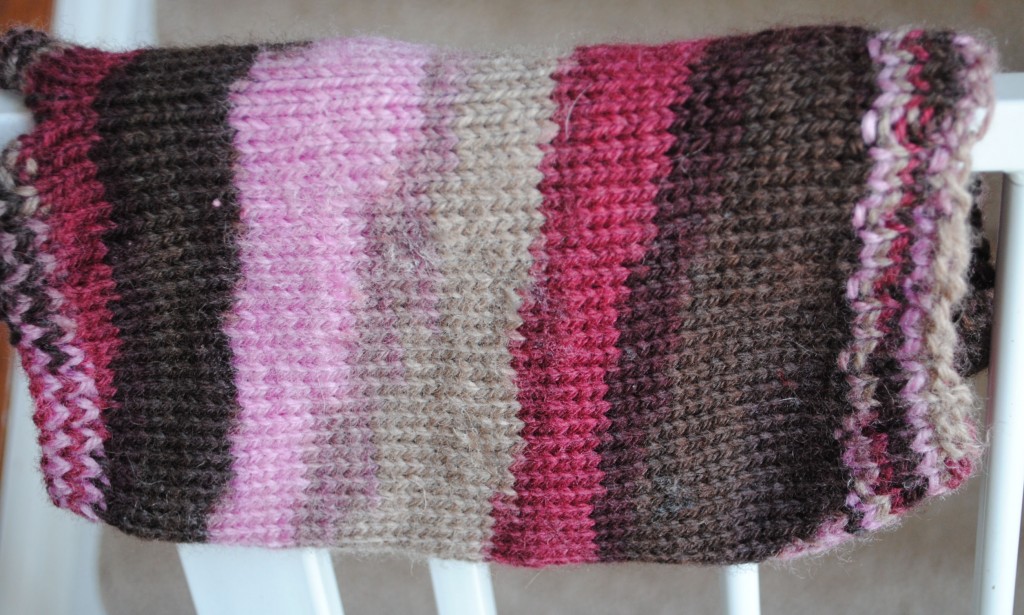
Here is the wool I used to make the cover.
1. The first step in lanolizing your cover is to make sure your diaper cover is clean, and remember to follow wool safe washing instructions. You can find a detailed how to here, but the basics are to use a wool safe detergent, do NOT allow the washing machine to agitate (this will felt and destroy the wool,) and always hang dry the garment.
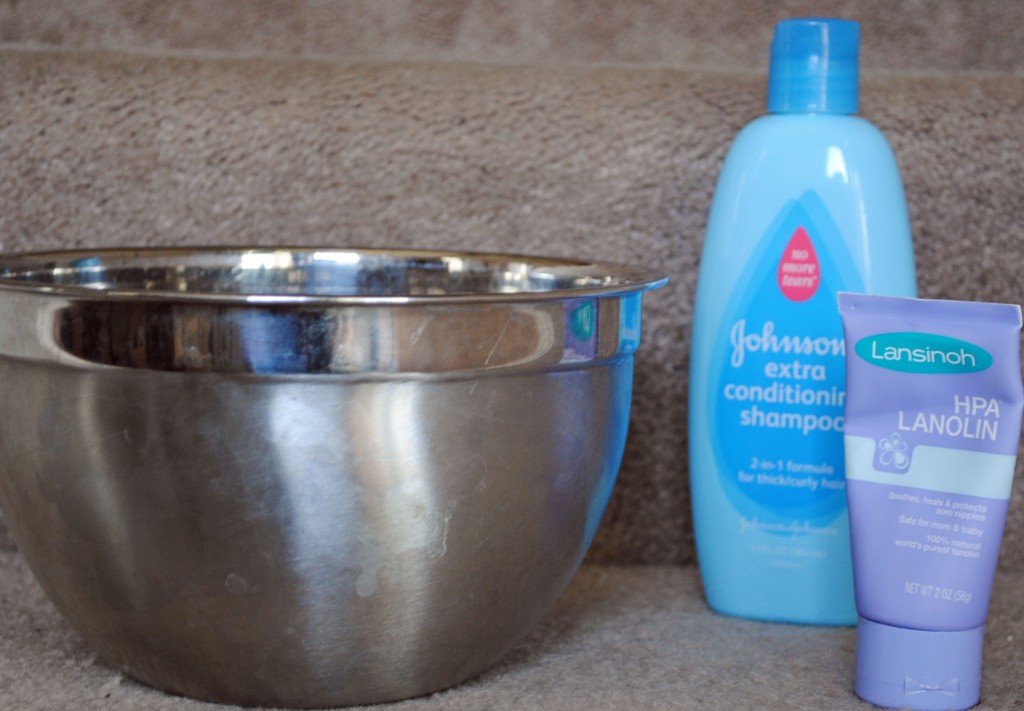
2. If you are using solid lanolin (which is the only kind I can ever find in retail stores,) squirt a dollop (maybe about a teaspoon) of lanolin and a very small squirt of baby shampoo into a bowl with a very small amount of hot water. Swish the mixture around to melt the lanolin. When you are done, fill the bowl with enough room temperature water to cover the garment completely.
3. Let is soak. You can soak it for as little as 15 minutes, but I prefer to do it overnight. When you have taken it out, get as much moisture as you can out by pressing it into a towel, and then lay it out to air dry. This is the longest part of the process because it takes me sometimes up to two days for it to totally dry. I’m sure if you put it out in the sun it would be quicker. I’ve just never done that because I don’t want it to fade.
And that’s it! Once the cover is dry, you are set to use it on your little one.
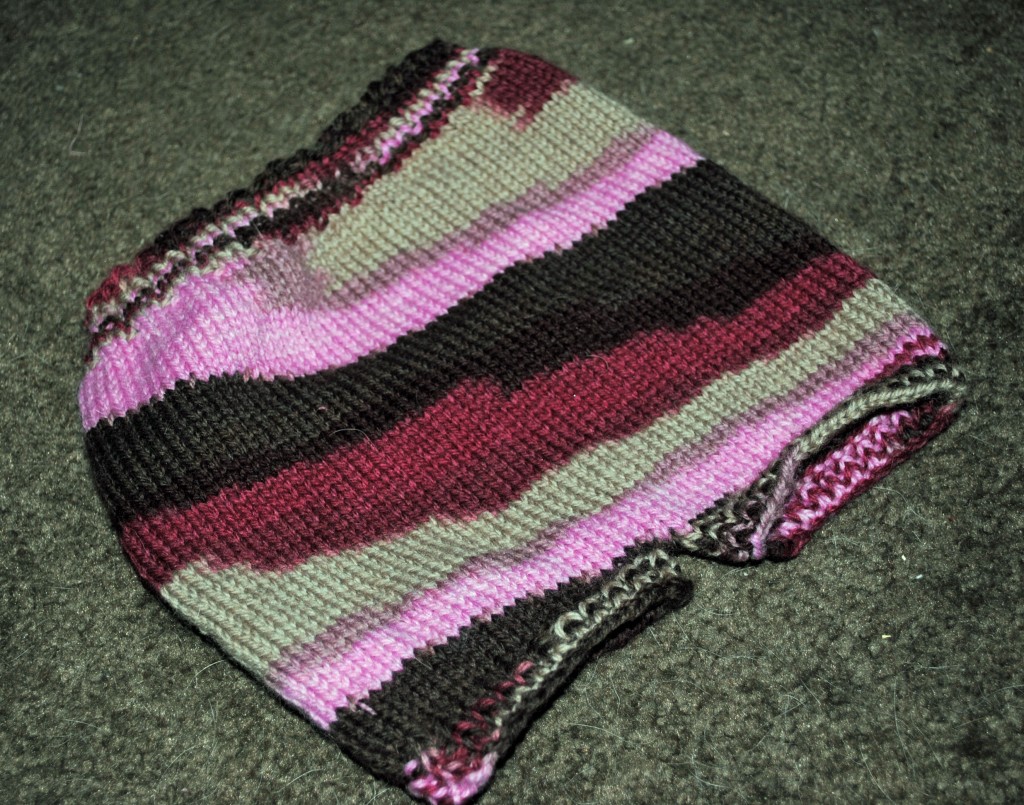
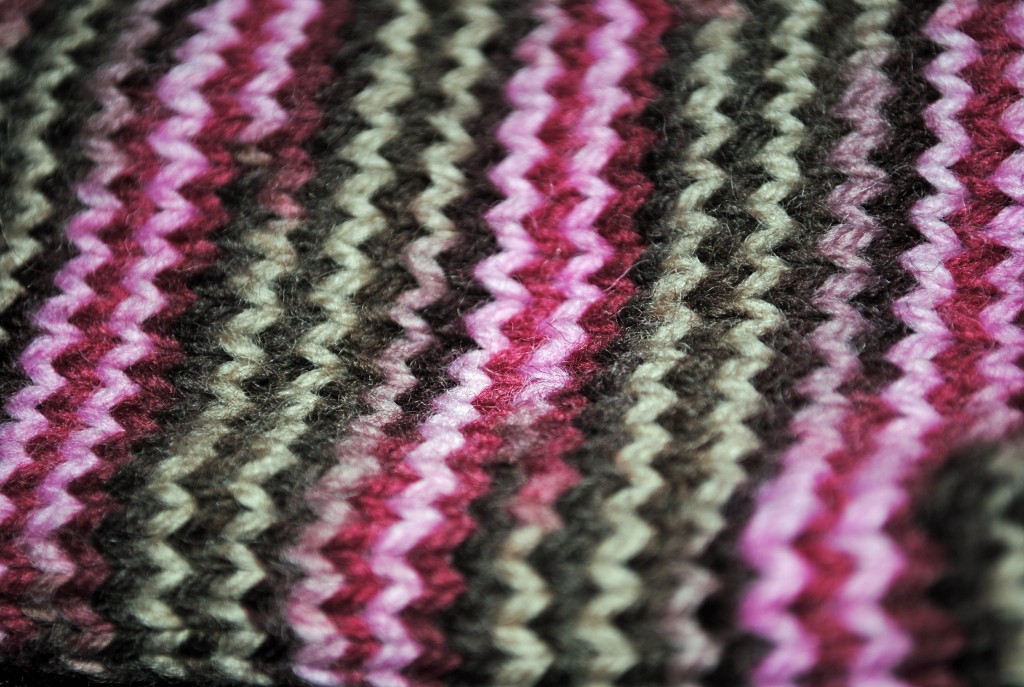
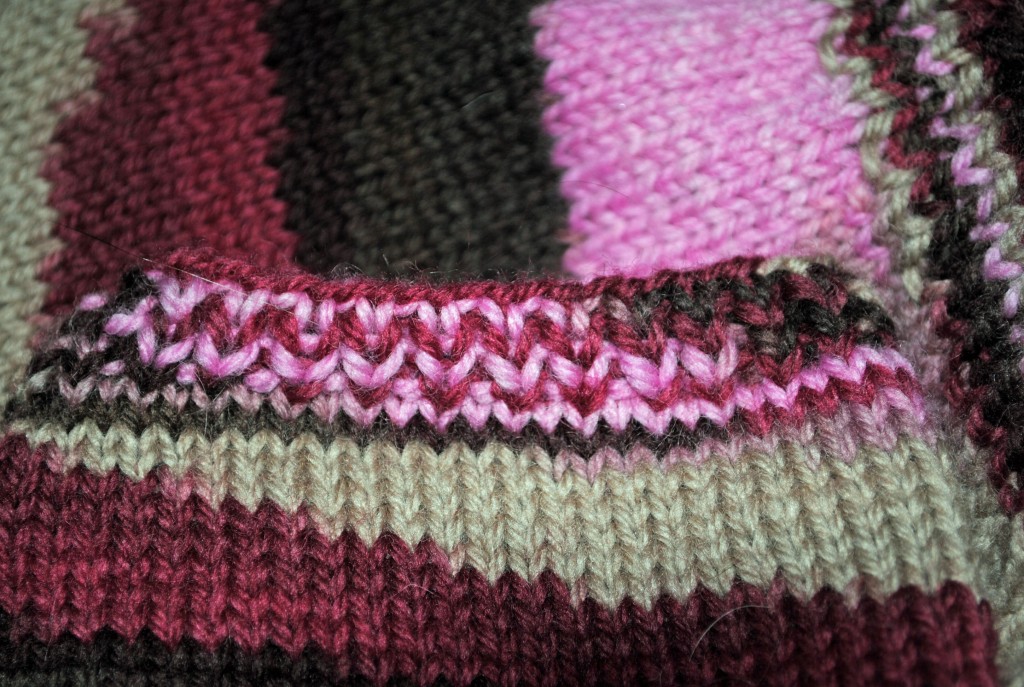
If any of you out there is as obsessed with pictures of hand knit items as I am, here are some more pictures of the cover.
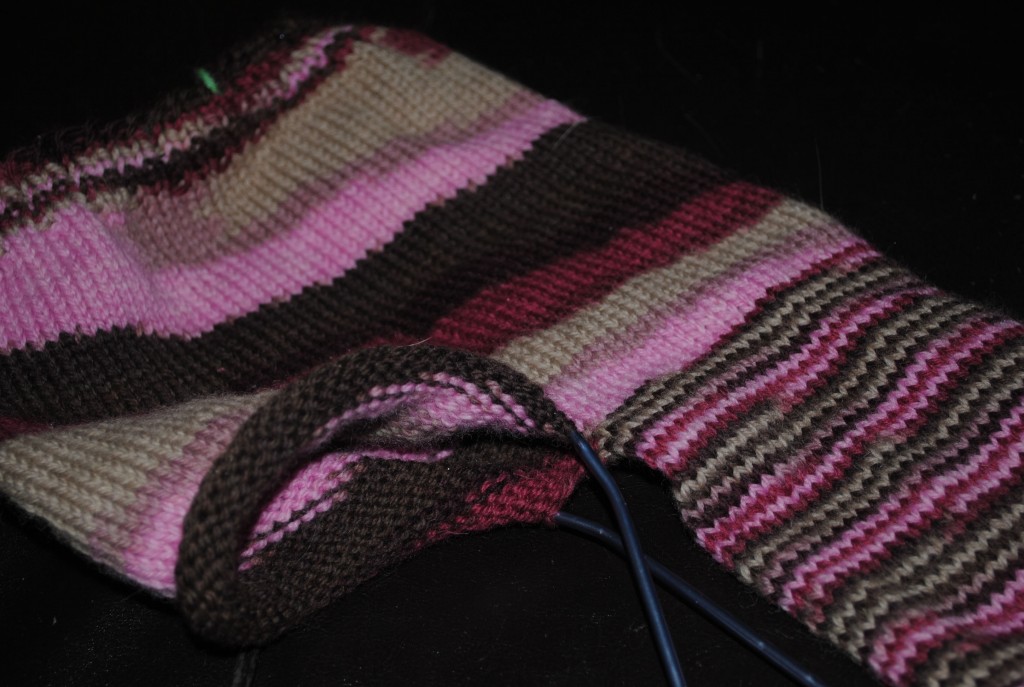
This final picture was taken when I was in the process of making a pair of longies. After realizing just how boring it is to knit pant legs, I decided to frog the legs and go with a simple cover.
Wow! That’s all I can say. WOW! you have got some skills and that photo of your Goose is picture perfect. I almost thought she was a dolly. She’s just beautiful.
You just made my night. Thank-you so much for such sweet words 🙂